Castor Oil Pack Testimony: How I Relieved My Chronic Pain With Castor Oil

Castor oil packs are not something new, as it has been used in the olden days to treat various ailments including chronic pain, whether it is knee pain, muscle pain, or back pain. Castor oil is made from castor beans and is commonly used in folk and traditional medicine worldwide. As simple as castor oil may look, it is packed with tons of awesome benefits and the uses are endless.

Years ago, I started to have lower back pain, radiating up my spine. I would treat it with pain medication but it would eventually come back. I was getting really frustrated with this constant pain that seems to never go away for long.

I started doing some research and learned that castor oil had much more benefits than just for skin and hair. If you read my other blog posts, you will see how it helped with bald spots, thinning hair, and also helped to grow my hair.

I found a website that’s just dedicated to natural home remedies where people shared their real life experiences and testimonies from using castor oil packs for pain. I was intrigued with all these information that was new to me. I sat up late into the night reading and soaking up all the information I could find.

I decided that I would try this magical castor oil and see if people were just exaggerating. I didn’t have a castor oil pack at the time, so I got creative and made my own with what I had at home.

I applied the organic castor oil to my back, making sure to apply some along the spine. I then placed my homemade castor oil pack on my back and let it sit for at least an hour.

I got back pain relief from using the castor oil pack almost immediately. I couldn’t believe how easily it worked. However, the pain came back in a few months time.  That was still great for me since I got to experience no back pain for months.

Now I started to take it more seriously, so I kept using it whenever I felt the pain coming back, which each time the pain was less severe. I even passed this on to one of my sisters who had back pain, but I don’t think she used it.

Anyway, it’s been more than six months now and my chronic back pain is gone. I don’t know if there was inflammation in my spine or something else was wrong, but all I know is whatever it was, the castor oil pack took care of it for me and I’m so grateful.

I am so blown away by this magical oil that got rid of my pain so I decided to pass on this information that may be useful to someone else who is experiencing these debilitating chronic pain in their daily lives. Feel free to share your experiences and testimonies in the comment section.

Disclaimer:
These home remedies are not to be used as a substitute for professional medical diagnosis or treatment. Please consult your physician, pharmacist or health care provider before using the home remedies on this website.
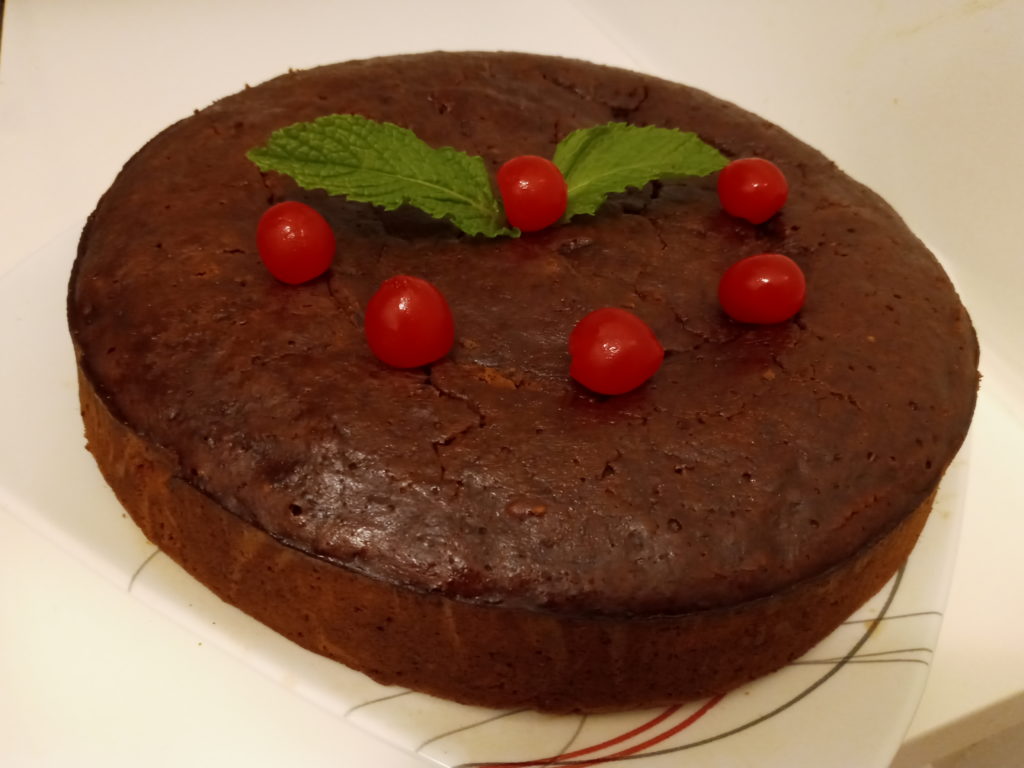
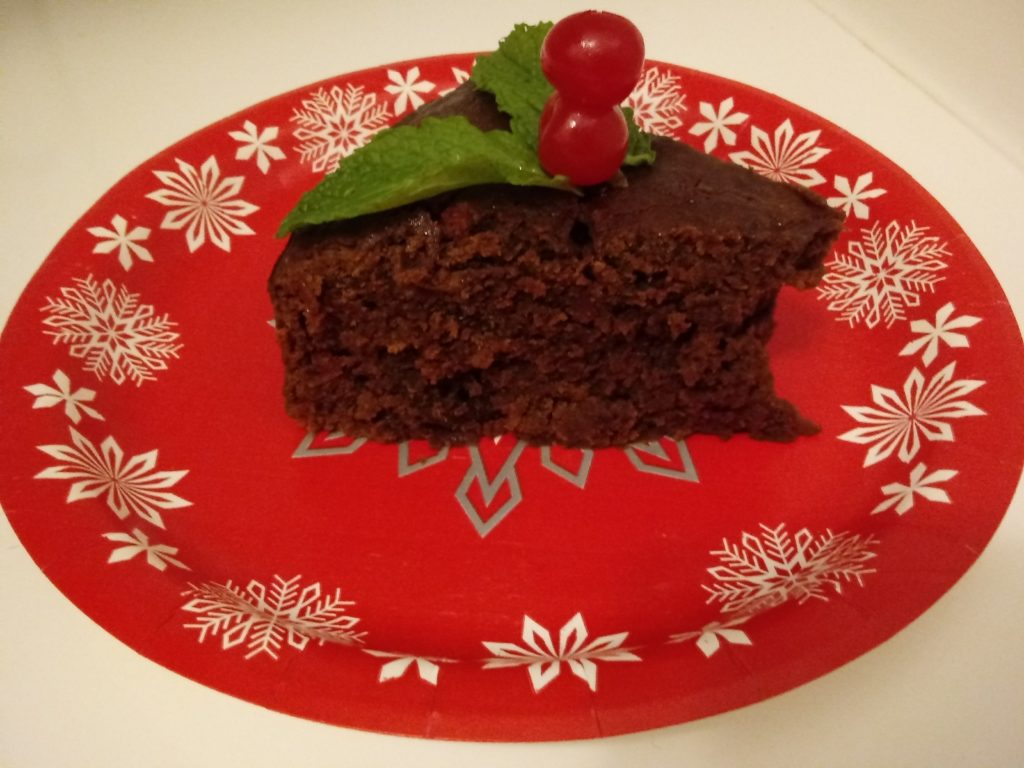
New Year’s Eve Cake: Intensely Scrumptious Moist Black Fruit Cake Recipe

New Year’s Eve is coming up fast and we are still in the festive mood, so why not start the new year with a bang.  Continue the festivities with this succulent black fruit cake, bursting with flavors. Showcase your baking skills with this simple recipe and wow your friends and family at the dinner table.

Ingredients

  • 1/2 cup butter (room temperature)
  • 1/2 cup margarine (room temperature)
  • 1 Tablespoon shortening (optional)
  • 1 cup brown sugar
  • 7 eggs (Don’t whisk) (room temperature)
  • 3 cups all purpose flour
  • 3 teaspoons baking powder
  • 1/4 teaspoon salt
  • 2 teaspoons mixed spice
  • 1 teaspoon ground cinnamon
  • 3 teaspoons vanilla
  • 3 teaspoons rose water
  • 1 teaspoon lemon extract
  • 3 teaspoons almond flavor
  • 2 tablespoons white rum
  • 1 tablespoon wine (preferably red wine)
  • 1 tablespoon molasses
  • 2 tablespoons burnt sugar
  • 3 cups of pureed and finely minced fruits (cherries, raisins, and prunes ) presoaked in wine and rum.

Prepping Your Oven 

  • Place a pan of water on the bottom rack in the oven.
  • Preheat the oven to 350 degrees.

Preparing Your Baking Pan

  • Cut the grease paper/parchment paper in a circle to fit the bottom of the cake pan.
  • Cut strips of paper to line the sides as well if you wish to do so.
  • Grease the inside of the cake pan with butter and then line the sides and bottom with the parchment or wax paper.

Preparing the Cake Batter

  • Sift the dry ingredients and mix them together with a whisk then set that aside.
  • Mix the butter, the sugar, and the shortening together and until fluffy and creamy.
  • Add one or two eggs at a time to the creamed butter and sugar and then mix using a whisk or a mixer. (Do not over-mix). Continue adding the remaining eggs.
  • Add your liquid spices and mix (except for the burnt sugar, which will be added near to the end).
  • Add the dry ingredients (a little at a time) that you prepared and set aside earlier, then mix. Each time you add a little, you mix, then add some more and mix again until there is no more dry ingredients left.
  • Add your burnt sugar to give it that dark, rich color, then mix.
  • Add the fruits and mix.
  • Pour in the batter into the baking pan and place it in the oven above the pan of water that was placed on the bottom shelf. (The steam will keep your cake moist).
  • Bake for 1 hour or when bamboo skewer is inserted and come out dry.

After Baking Your Cake

  • Mix about 2 tablespoon of white rum and 1 tablespoon of red wine.
  • Use a pastry brush to apply the combination of rum and wine to the top of the cake while it’s still warm.
  • Let the cake cool thoroughly.

Making Your Cake Look Shine

To make your black fruit cake look shine, just use some of the liquid from your soaked fruits to apply to the top of the cake, using a pastry brush.

Storing Your Black Fruit Cake

  • Keep your fruit cake moist after baking it by wrapping it in plastic wrap for food then place it in a cool area.
  • Brush more rum on your cake and keep it wrapped. The rum is a great preservative for this type of cake. Some people keep their black fruit cake for a long time when this technique is used. When done the correct way, the cake will not dry out or spoil.


Festive Sorrel Fruit Cake Recipe Without Food Coloring

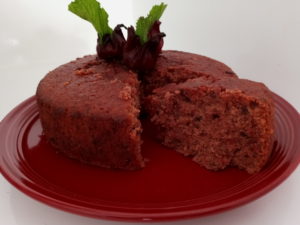
Hibiscus fruit cake
Sorrel/Hibiscus Fruit Cake

The sorrel drink is a traditional Caribbean punch, typically made with white rum and is commonly served on Christmas day or even New Year’s Day. This tangy punch is so delicious that people put a twist on it and came up with the well sought-after sorrel fruit cake. No doubt this cake is quite popular this Christmas. There are many different version of the sorrel/hibiscus cake. Here is my version of this moist, fluffy, eye-catching cake.

INGREDIENTS

  • 1/2 cup butter (1 stick)
  • 1/2 cup margarine (1stick)
  • 2 tablespoons shortening
  • 1 cup light brown or white sugar
  • 5 eggs
  • 2 cups all-purpose flour
  • 2 teaspoons baking powder
  • 1/4 teaspoon salt
  • 1 teaspoon mixed spice
  • 1 teaspoon cinnamon extract or ground cinnamon
  • 1 teaspoon rosewater
  • 1 teaspoon almond flavor
  • 1 teaspoon lemon extract
  • 3 teaspoons lime juice
  • grated rind from the lime (lime skin)
  • 1 1/2 cup pureed sorrel (Add more for a deeper color)
  • 1 cup combined pureed and partly chopped fruits (presoaked in rum and wine)

DIRECTIONS

  1. Mix the butter, margarine, shortening, and sugar until fluffy.
  2. Lightly whisk eggs in a separate bowl.
  3. Add the eggs a little at a time while mixing it into the butter, margarine, and sugar.
  4. Continue adding the remaining eggs and mix for about a minute or two.
  5. Add the pureed sorrel and fruits, and the other liquid spices, then mix. (You can also add some of the sorrel juice to give your cake a little more red color.)
  6. Sift all the dry ingredients in a different bowl (flour, baking powder, salt, and mixed spice).
  7. Add the dry ingredients a little at a time and mix it in the creamed sugar, butter, margarine, and shortening, using the cut and fold method.
  8. Pour the batter into a greased baking pan and bake at 350 degrees for 45 minutes to 1 hour or when a toothpick is inserted and come out clean.

Baking Tips

The cut and fold method is done this way: Use a wooden spoon to mix the ingredients starting from the top center of the bowl, keep going to the right like you are making a circle. Bring the mixture with your spoon all the way around to the left of the bowl, then bring it up to the left and top center and down  the center of the mixture.